
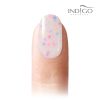

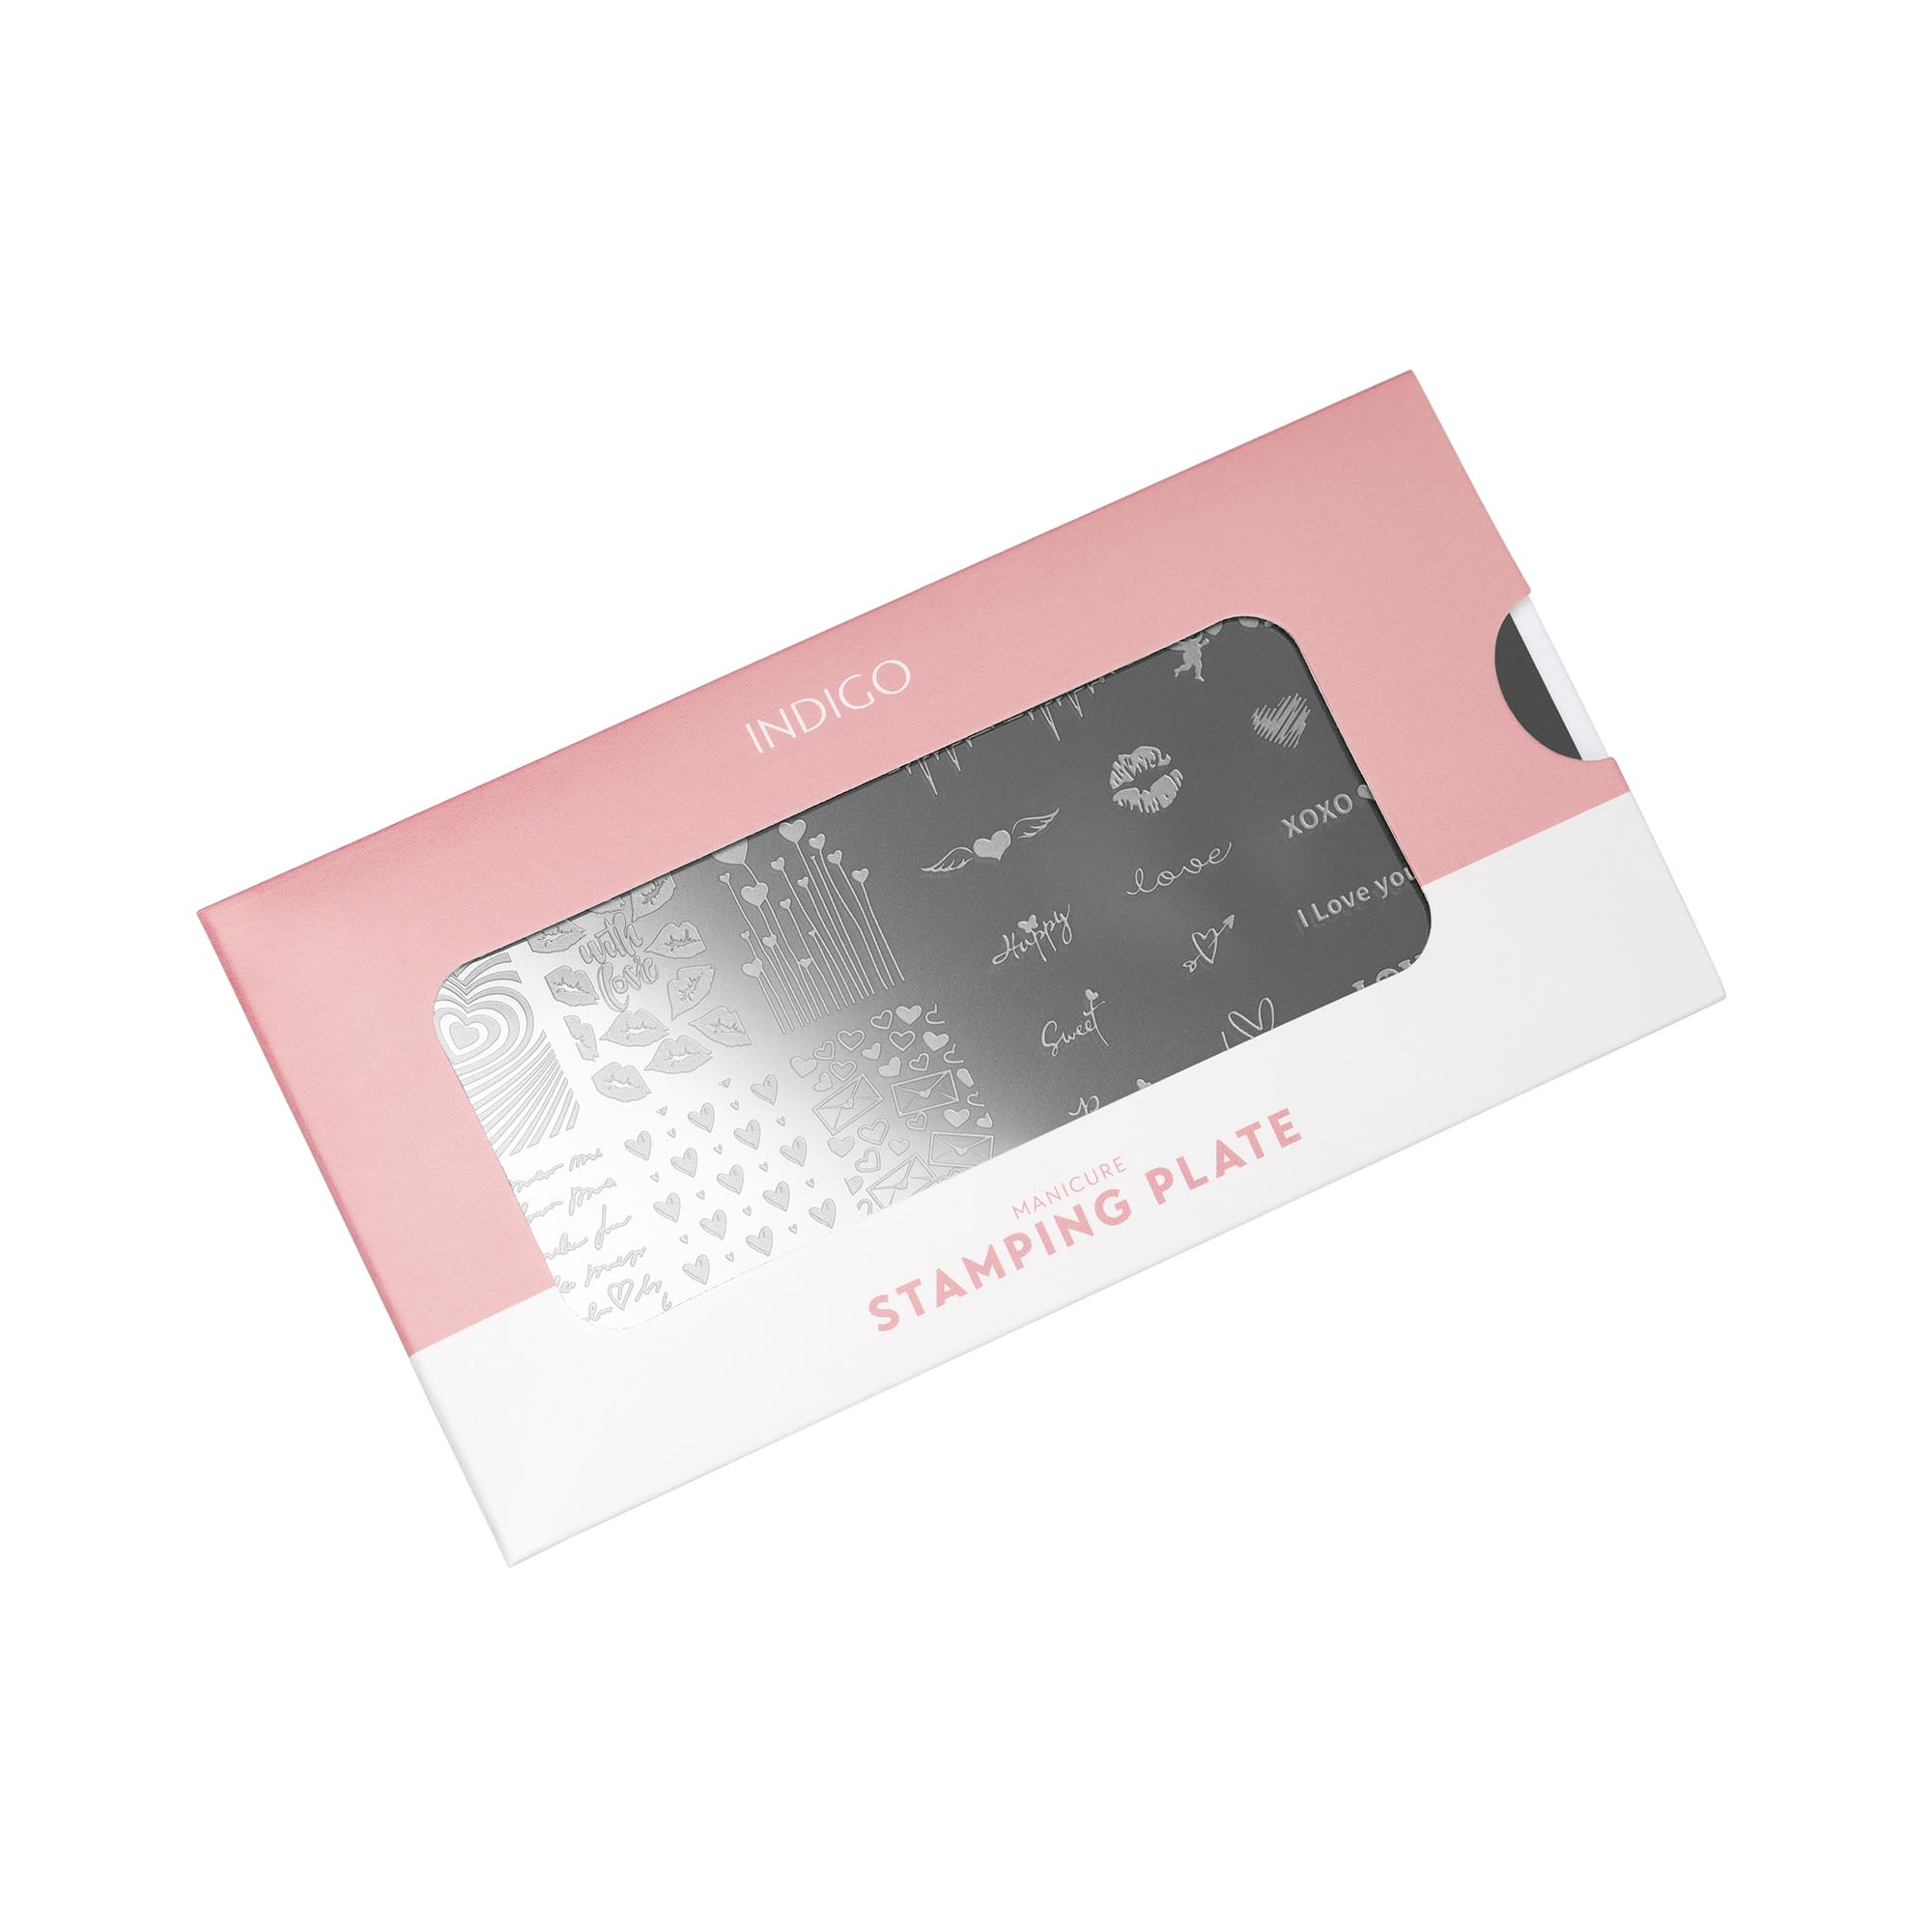

Stamping with nail polish:
To make a design from the selected stencil from the stamping tin, first prepare the nail surface properly:
cover the hybrid styling with a matte top coat or matt the surface with a buffer with a gradation of 280 and clean it thoroughly with a cotton swab soaked in Cleaner 1.
Styling with gel – after filing, it is best to cover with a matte top or matt the surface with a buffer with a gradation of 280 and thoroughly clean it with a cotton swab soaked in Cleaner 1.
classic protein varnish – wait carefully until the color layer is completely dry.
Then the pattern selected on the tin should be generously covered with stamp varnish and with a quick, decisive moment scrape off its excess from the tin with a scraper. Immediately after this step, imprint the design from the tin with a stamp and transfer it to the surface of the nail. After a while, when the pattern dries, you can protect it with the top coat of your choice and cure it in a lamp or cover it with a topcoat.
PRO TIP:
Clean the sheet gently with a cotton swab soaked in Nail Polish Remover.
If you are using gels for stamping then Wipe Off will work great.
If the gels harden on the surface of the tile, we can try to make a poultice of several minutes with a cotton swab soaked in Remover, and then clean the tile again with Wipe Off Cleaner.
We can also soak the tin in warm water and gently use a stick to remove the cured gel from the nooks and crannies.
Note: scratching the surface too hard with the stick or other tools may cause scratches, which will negatively affect the quality of the reflected designs.


